Setup & Permissions
When you first open Stirae, it walks you through a short setup. It takes about two minutes.
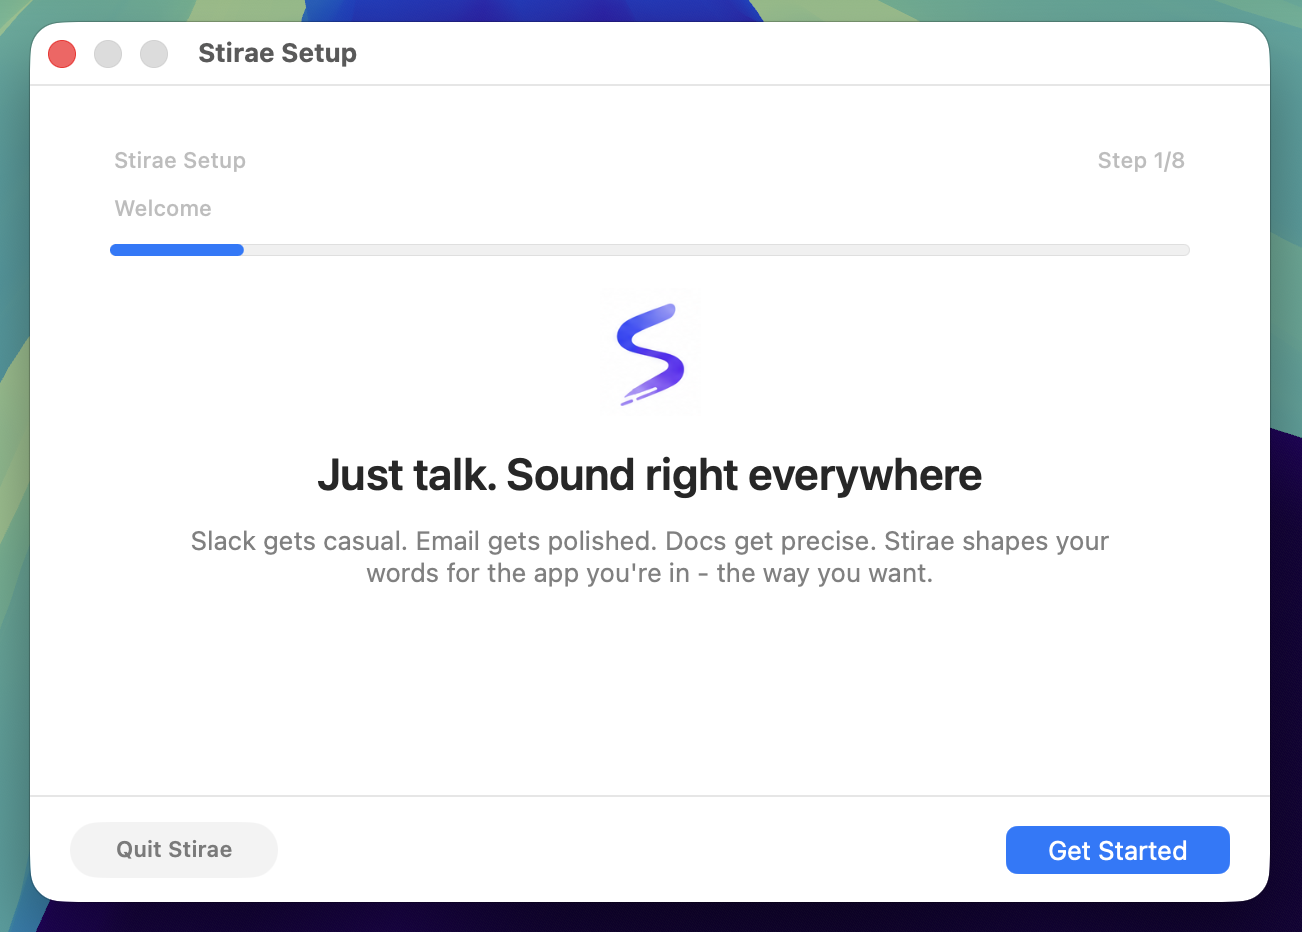
Step by step
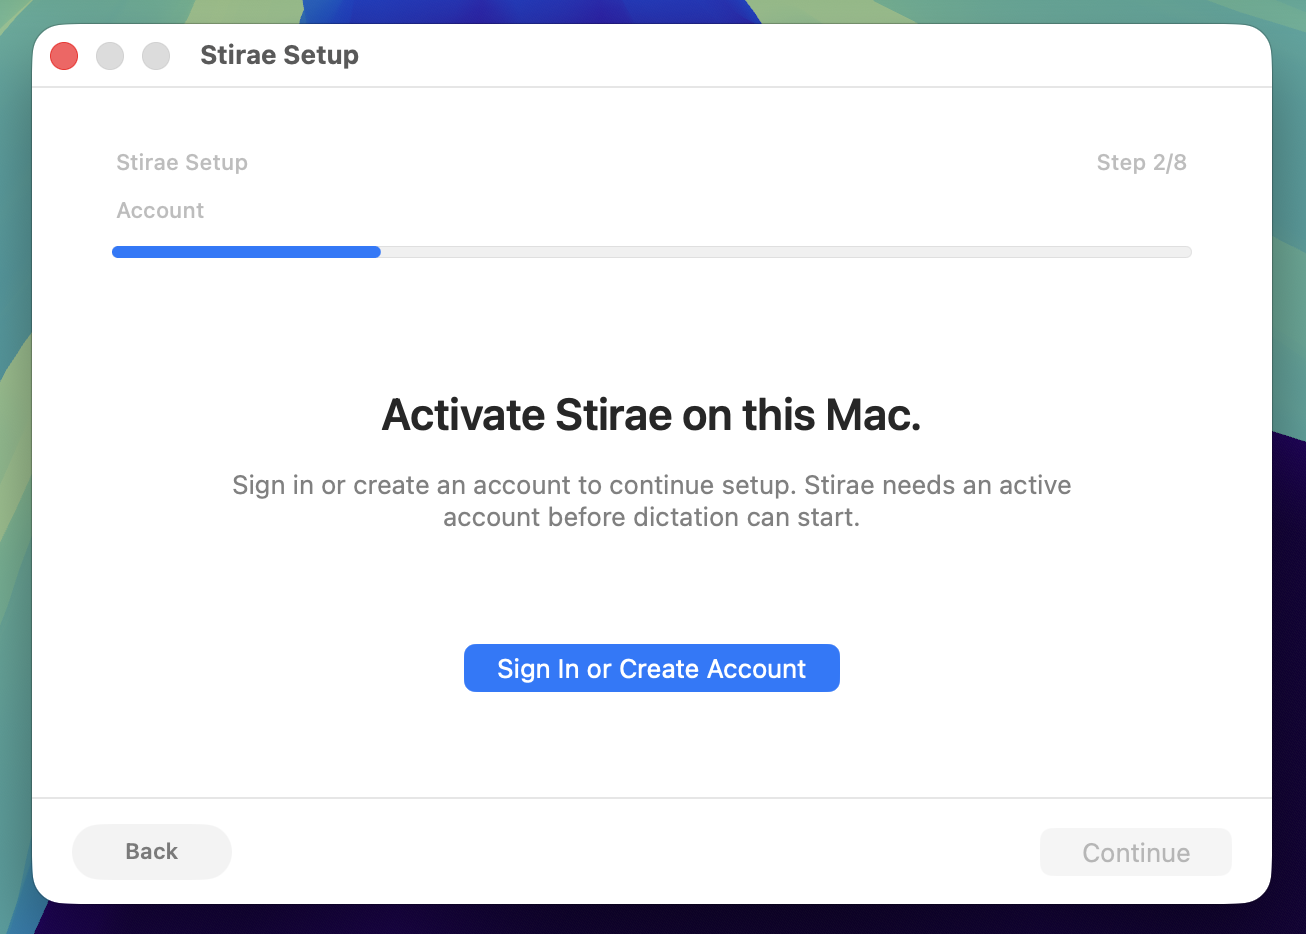
Sign in
Stirae opens your browser so you can activate your account. After you sign in, setup continues automatically.
Set up your voice
Choose your Polish and translation location, then pick the language you usually dictate in under Primary Dictation Language. The location applies to text refinement and translation; your voice is transcribed locally on your Mac.
Once both choices are set and local dictation is ready, click Continue. You can change your spoken language later from the menu bar.
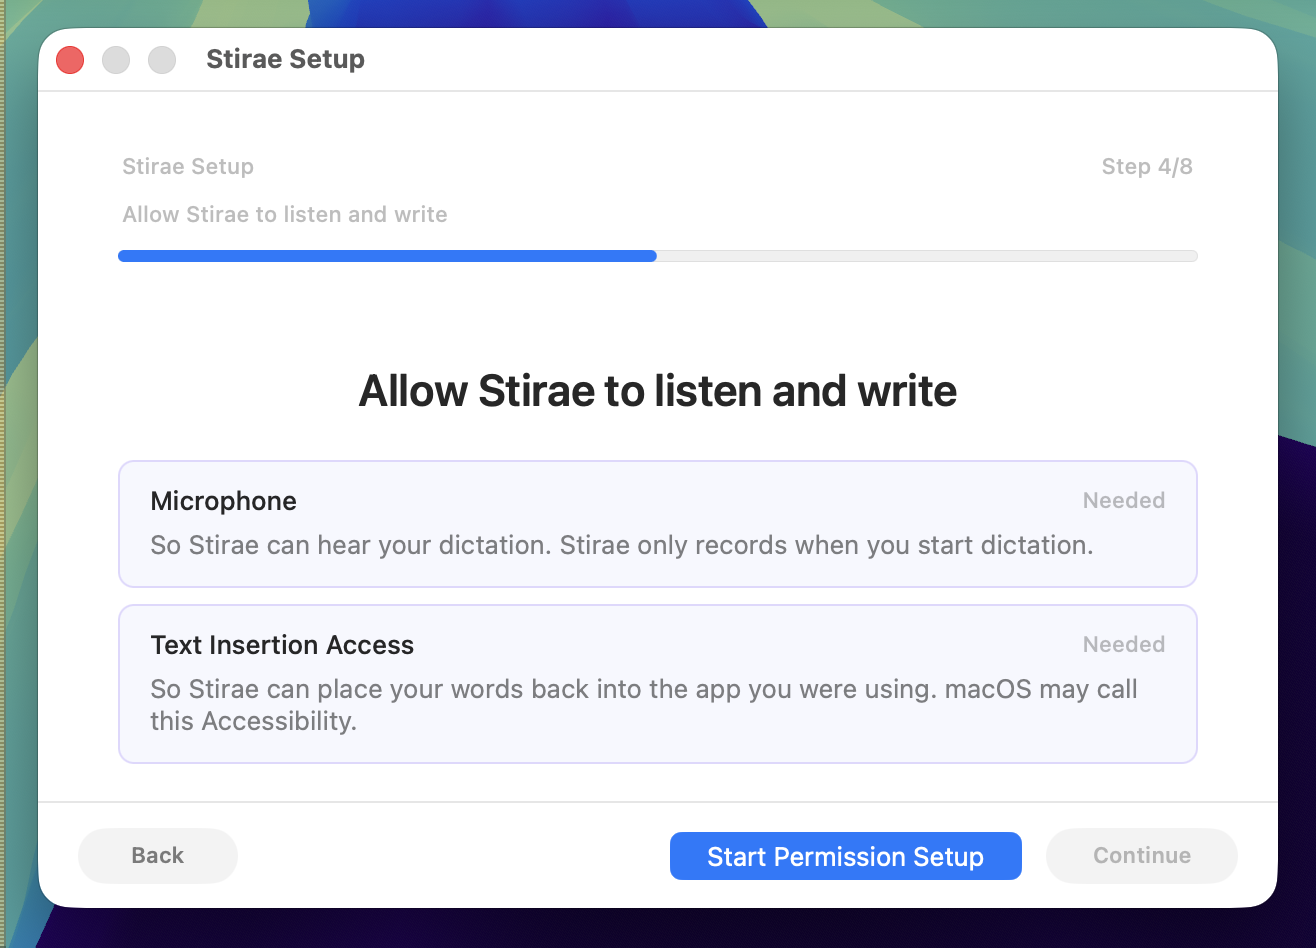
Grant permissions
Stirae needs microphone access to hear your dictation and Text Insertion Access to place text into other apps. macOS calls Text Insertion Access "Accessibility."
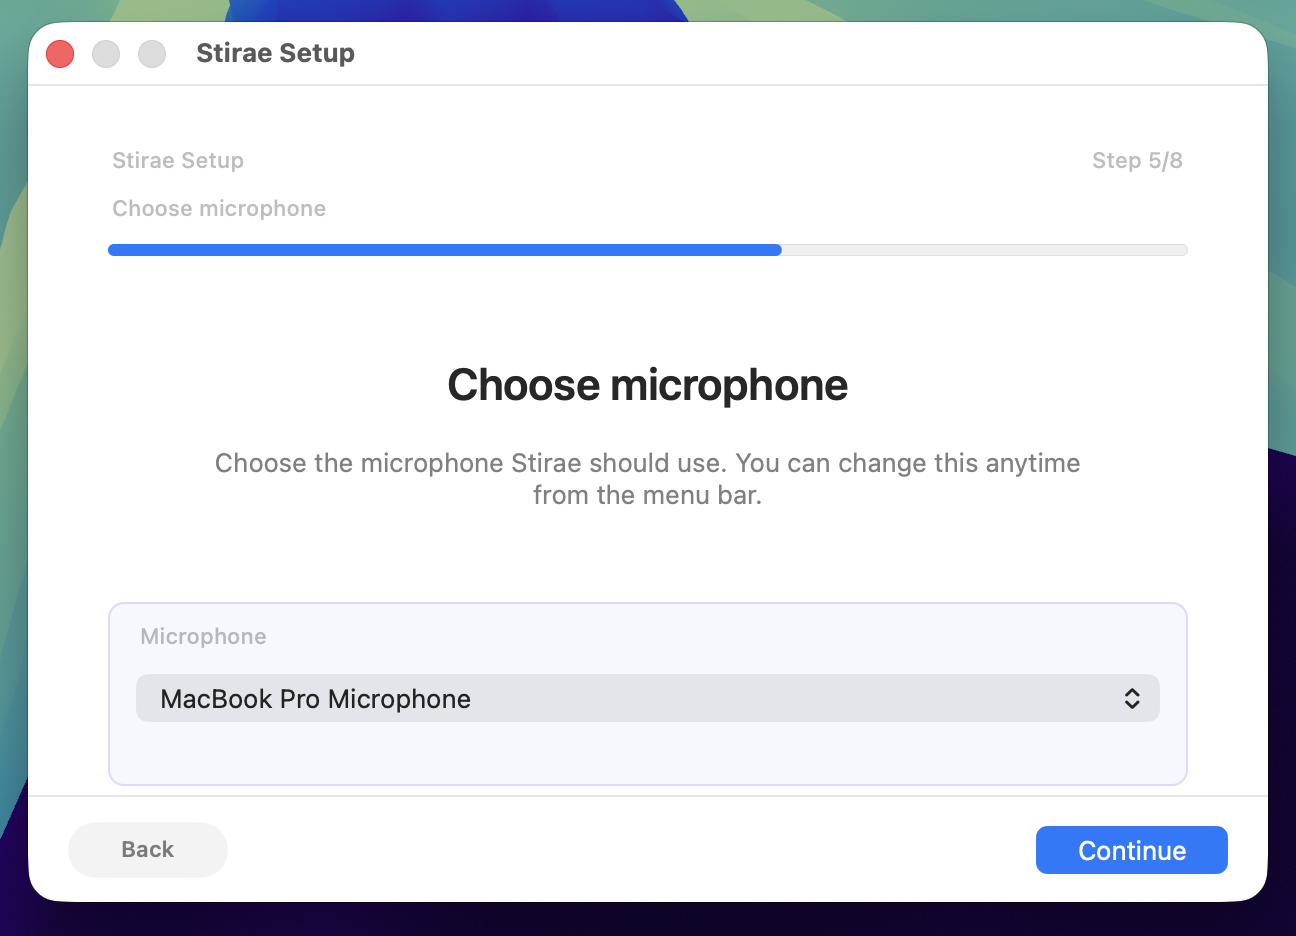
Pick your microphone
Choose the microphone Stirae should listen to. If you only have one microphone, Stirae selects it automatically.
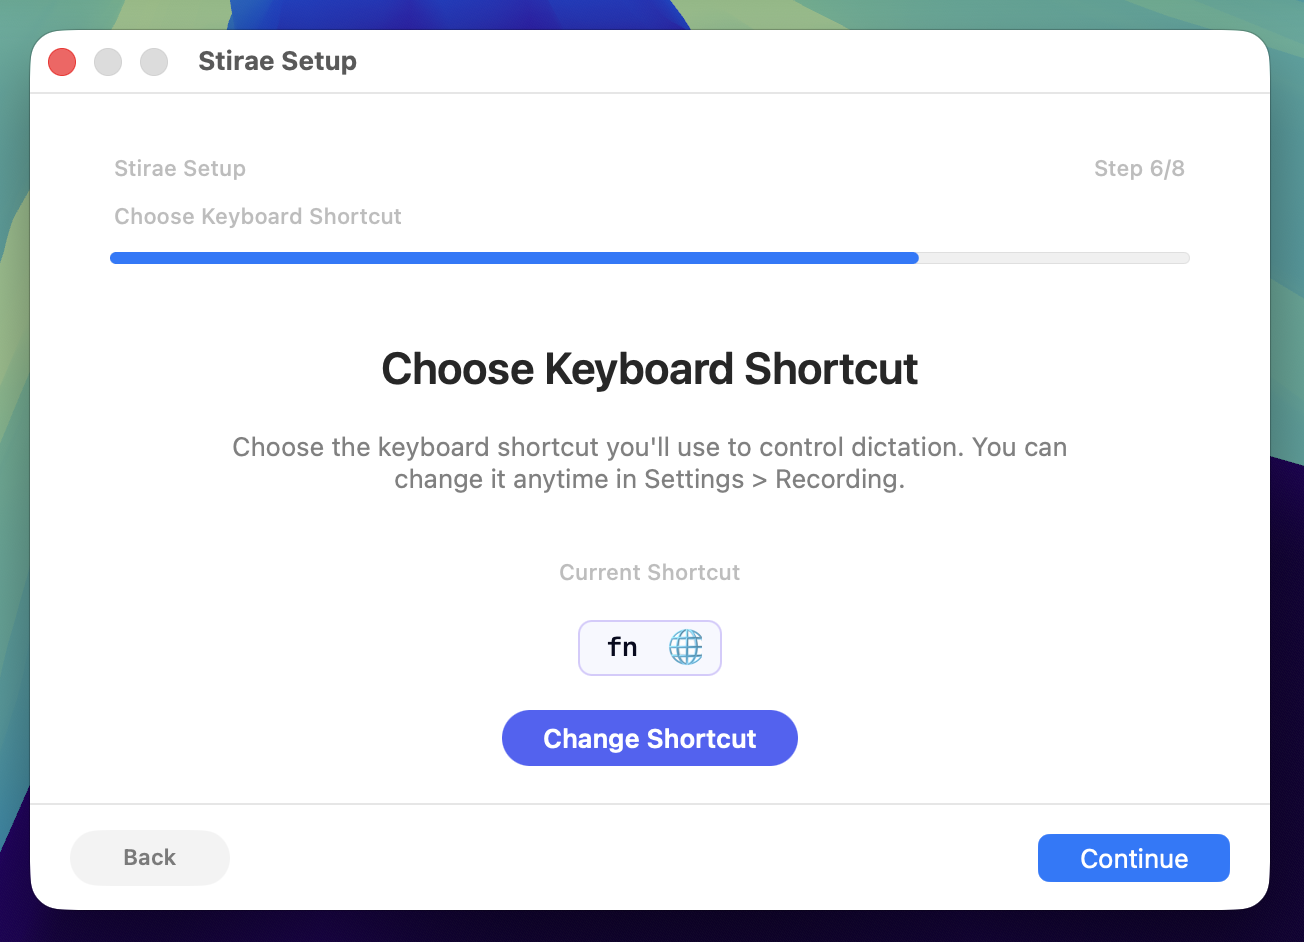
Set your shortcut
The default shortcut is the Function/Globe key. You can keep it, customize it now, or change it later in Settings.
Try it out
This optional test runs only in the setup preview. Dictate a short phrase, and Stirae shows the transcript in the setup window using local dictation with Refinement Off. It does not use your cloud allowance.
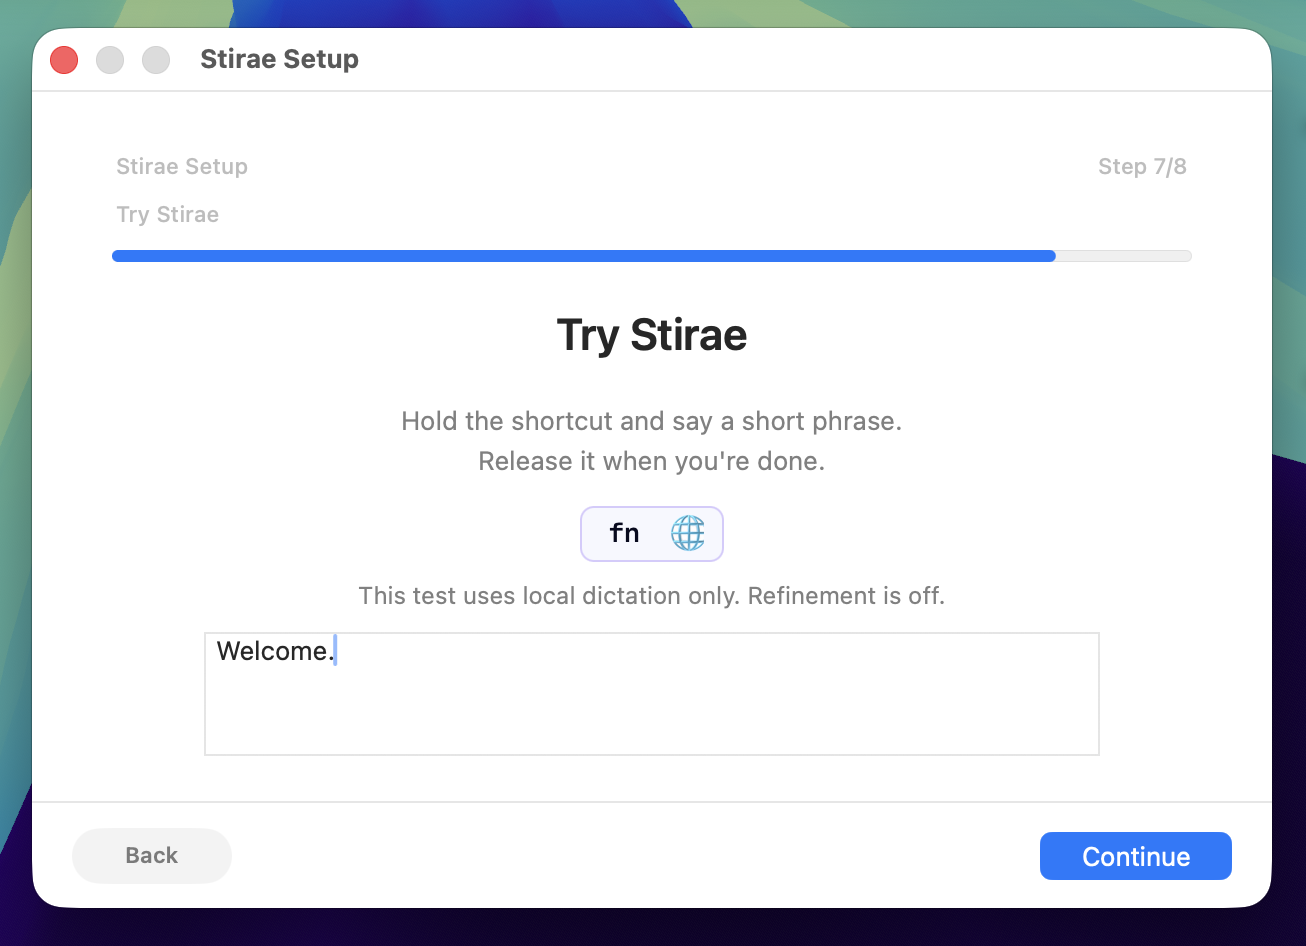
After this, Stirae shows the Ready screen. Click Start Using Stirae to finish setup and start using the app.